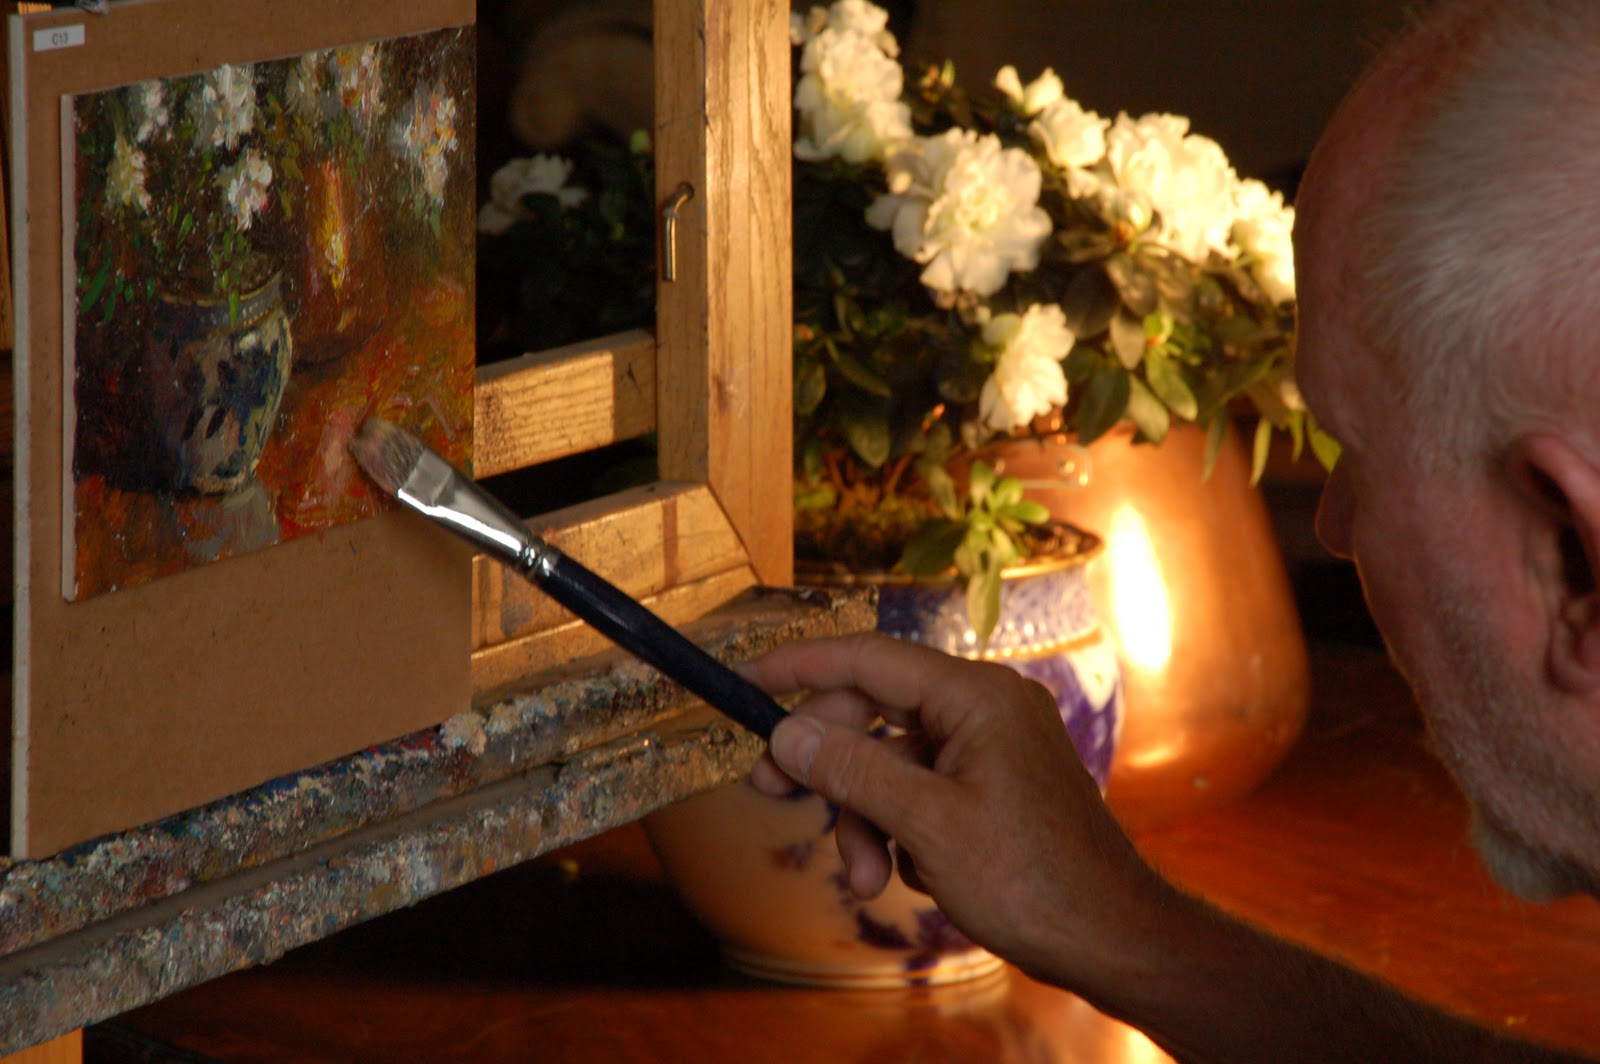
I had the great opportunity this past fall to meet
CW Mundy and to watch as he gave a still life demonstration. CW doesn’t fit the typical artist mold (you know . . . artsy long-haired Frenchmen with a goatee and cup of espresso), instead, he is a kind, beach clothes-wearing man with a booming voice and down-to-earth character. Matching this personality are his paintings, which follow no Salon or traditional style, but are loose, impressionistic, and filled with moving color.
I have wanted to focus more of my posts on the actual techniques of modern painters, and CW is a great place to start. Below is part one of a demo that he (and his wife Rebecca) so graciously sent over so that we can visually see the steps and techniques that he uses. Part two will walk us through one of his paintings step-by-step.
Materials and Methods
Color pots:
In the upcoming part two, as well as at the demo I attended in the fall, CW creates “pots” or piles of colors. The pot colors are color values in the main subject areas that he needs to paint, and they are mixed prior to painting.
Take for example a typical landscape, you have the sky value and color as a mass, a mountain range as a different value and color mass, then you have the foreground as a different value and color mass. The logical thing to do is to makes piles of those 3 values, so you can do your painting without having to continually mix paint as you go. That will take you out of your “zone” if you have to continually mix paint for the masses.
Bellagio, Lake Como 9 X 12
Also, there's a unifying factor that's crucial with color. Each pot color in this landscape is proportionally mixed with each mass color in the other two. In other words, the sky has some of the green from the foreground and some of the purple from the mountains. The green foreground will have some of the sky color and some of the mountain color in that pot. The mountain pot color will have the proportion of the foreground and the sky colors. This will unify the entire painting with color.
On location at Lake Como
Marbleized technique:
In addition to these loosely mixed pots of color, CW mixes paint in two main ways. The first is loosely mixing on the palette, either from modifying the pot colors, or creating a custom color. This mixing is done on the palette but as you can tell from his work, the colors are at most, folded color . . . never mixed together to form a flat color.

Now what is really exciting and important, besides just mixing paint on the palette, he will load up his brush with a pot color and then dip it into the pure chroma of the tube colors around the outer edge of the palette, stabbing various colors and picking up globs of paint that lay outside this main volume of pot color. Without mixing it, he will directly paint onto the canvas and thus "marbleize" the paint as he forms the stroke. He also finds that the effect is more easily accomplished using alkyds rather than straight oils, because alkyds have less pigment allowing them to marbleize better. Seeing this in person really blew my mind, I had never seen painting like this before and it seemed extremely exciting (and scary), but keep in mind that you need to know how and what color you are aiming for, if you get it wrong, you either have to scrap off the loads of paint, or add even more paint to edit your previous strokes.
Lighting:
When in the studio, CW generally lights his still lifes with warm light. As photographed in the post to come, he uses a high wattage tungsten floodlight. I’m not completely sure of the brand, but it looks like a 500-1000 watt unit that would probably cost a couple hundred bucks. He does not light his palette and canvas with the same light. He finds it is very important to have them always under natural light (in his studio, he has large windows behind him).
Palette:
CW paints with both standard oils and with
Winsor & Newton Griffin Alkyds (Alkyds can be mixed with traditional oil colors, or can act as an underpainting, but should never be used above a layer of traditional oils. Alkyds dry with less elasticity and will cause cracking if above the more elastic, traditional oils.) In CW’s case, he either uses a full palette of one or the other.
Titanium White
Cadmium Yellow Light
Yellow Ochre (convenience color)
Cadmium Medium Red
Alizarin Crimson
Cerulean Blue
French Ultramarine Blue
Viridian
Terre Verte Green (convenience color)
VanDyke Brown
Dioxazine purple (convenience color)
(Notice the two pots of color here)
Tissues:
CW does not use paper towels to clean his brushes, instead he has a box of Kleenex tissues beside him for single use wipes. When he needs to wipe a brush, he grabs a tissue, wipes the brush, and then throws out the tissue. It’s fast, they are in a handy box, and are fairly cheap. Just don’t get the fluffy ones with all the lint and lotion.
Brushes:
Long-handled sable flat brushes: Rosemary 279 (but
Langnickel 5590 will also work) – these are the brushes of choice for myself, and many of the “living masters.” The Rosemary’s are much more durable than the Langnickel, but both brushes create beautiful effects. They are fairly soft, and do take some getting used to compared to a hog bristle brush.
Various bristle flats and sable rounds
Go to
Part Two of this post to read more